Interior Design
How to Hang a Gallery Wall That Looks Professionally Done

Gallery walls fail for one predictable reason: people start hammering nails before deciding on the actual layout. The fix is almost embarrassingly simple — do all the arranging on paper and on the floor first, and only pick up a hammer once the layout is already correct.
Trace, cut, tape
Trace each frame onto kraft paper or newspaper and cut it out. Tape the paper templates directly to the wall using painter's tape, moving them around freely until the arrangement feels balanced. Because nothing is committed yet, you can live with the layout for a day or two before hanging a single frame.
The two-inch rule
Keep two to three inches between every frame, measured consistently across the whole arrangement. Inconsistent spacing is the single biggest tell of an amateur gallery wall — even a slightly imperfect but consistent gap will look more intentional than a technically 'correct' but uneven one.
- Anchor the layout around one larger, central piece rather than distributing size evenly
- Keep frame finishes limited to two — for example, all black or black-and-brass, never four different metals
- Hang the visual center of the whole arrangement at eye level, roughly 57 to 60 inches from the floor
A gallery wall doesn't need perfect symmetry. It needs a consistent rhythm — same gaps, same one or two finishes, one clear anchor piece.
Hang from the paper, not from memory
Once the paper layout is right, mark the nail position through the paper itself before removing it, so the hole goes exactly where the template said it should. This is the step that turns a good plan into a good result — skipping it is where most gallery walls go slightly crooked.
Step back after every third frame, not just at the end. Small corrections are easy while the wall is half done; they're much harder once every frame is already up and the pattern of nail holes is set.
Interior Design
How to Hang a Gallery Wall That Looks Professionally Done
Save it for later
Keep this article on hand
Pin it to your decor board and come back to it when you’re ready to work on the room.
Pin this articleEnjoyed this one?
Get the next post — and nothing else — in your inbox.
More on Interior Design
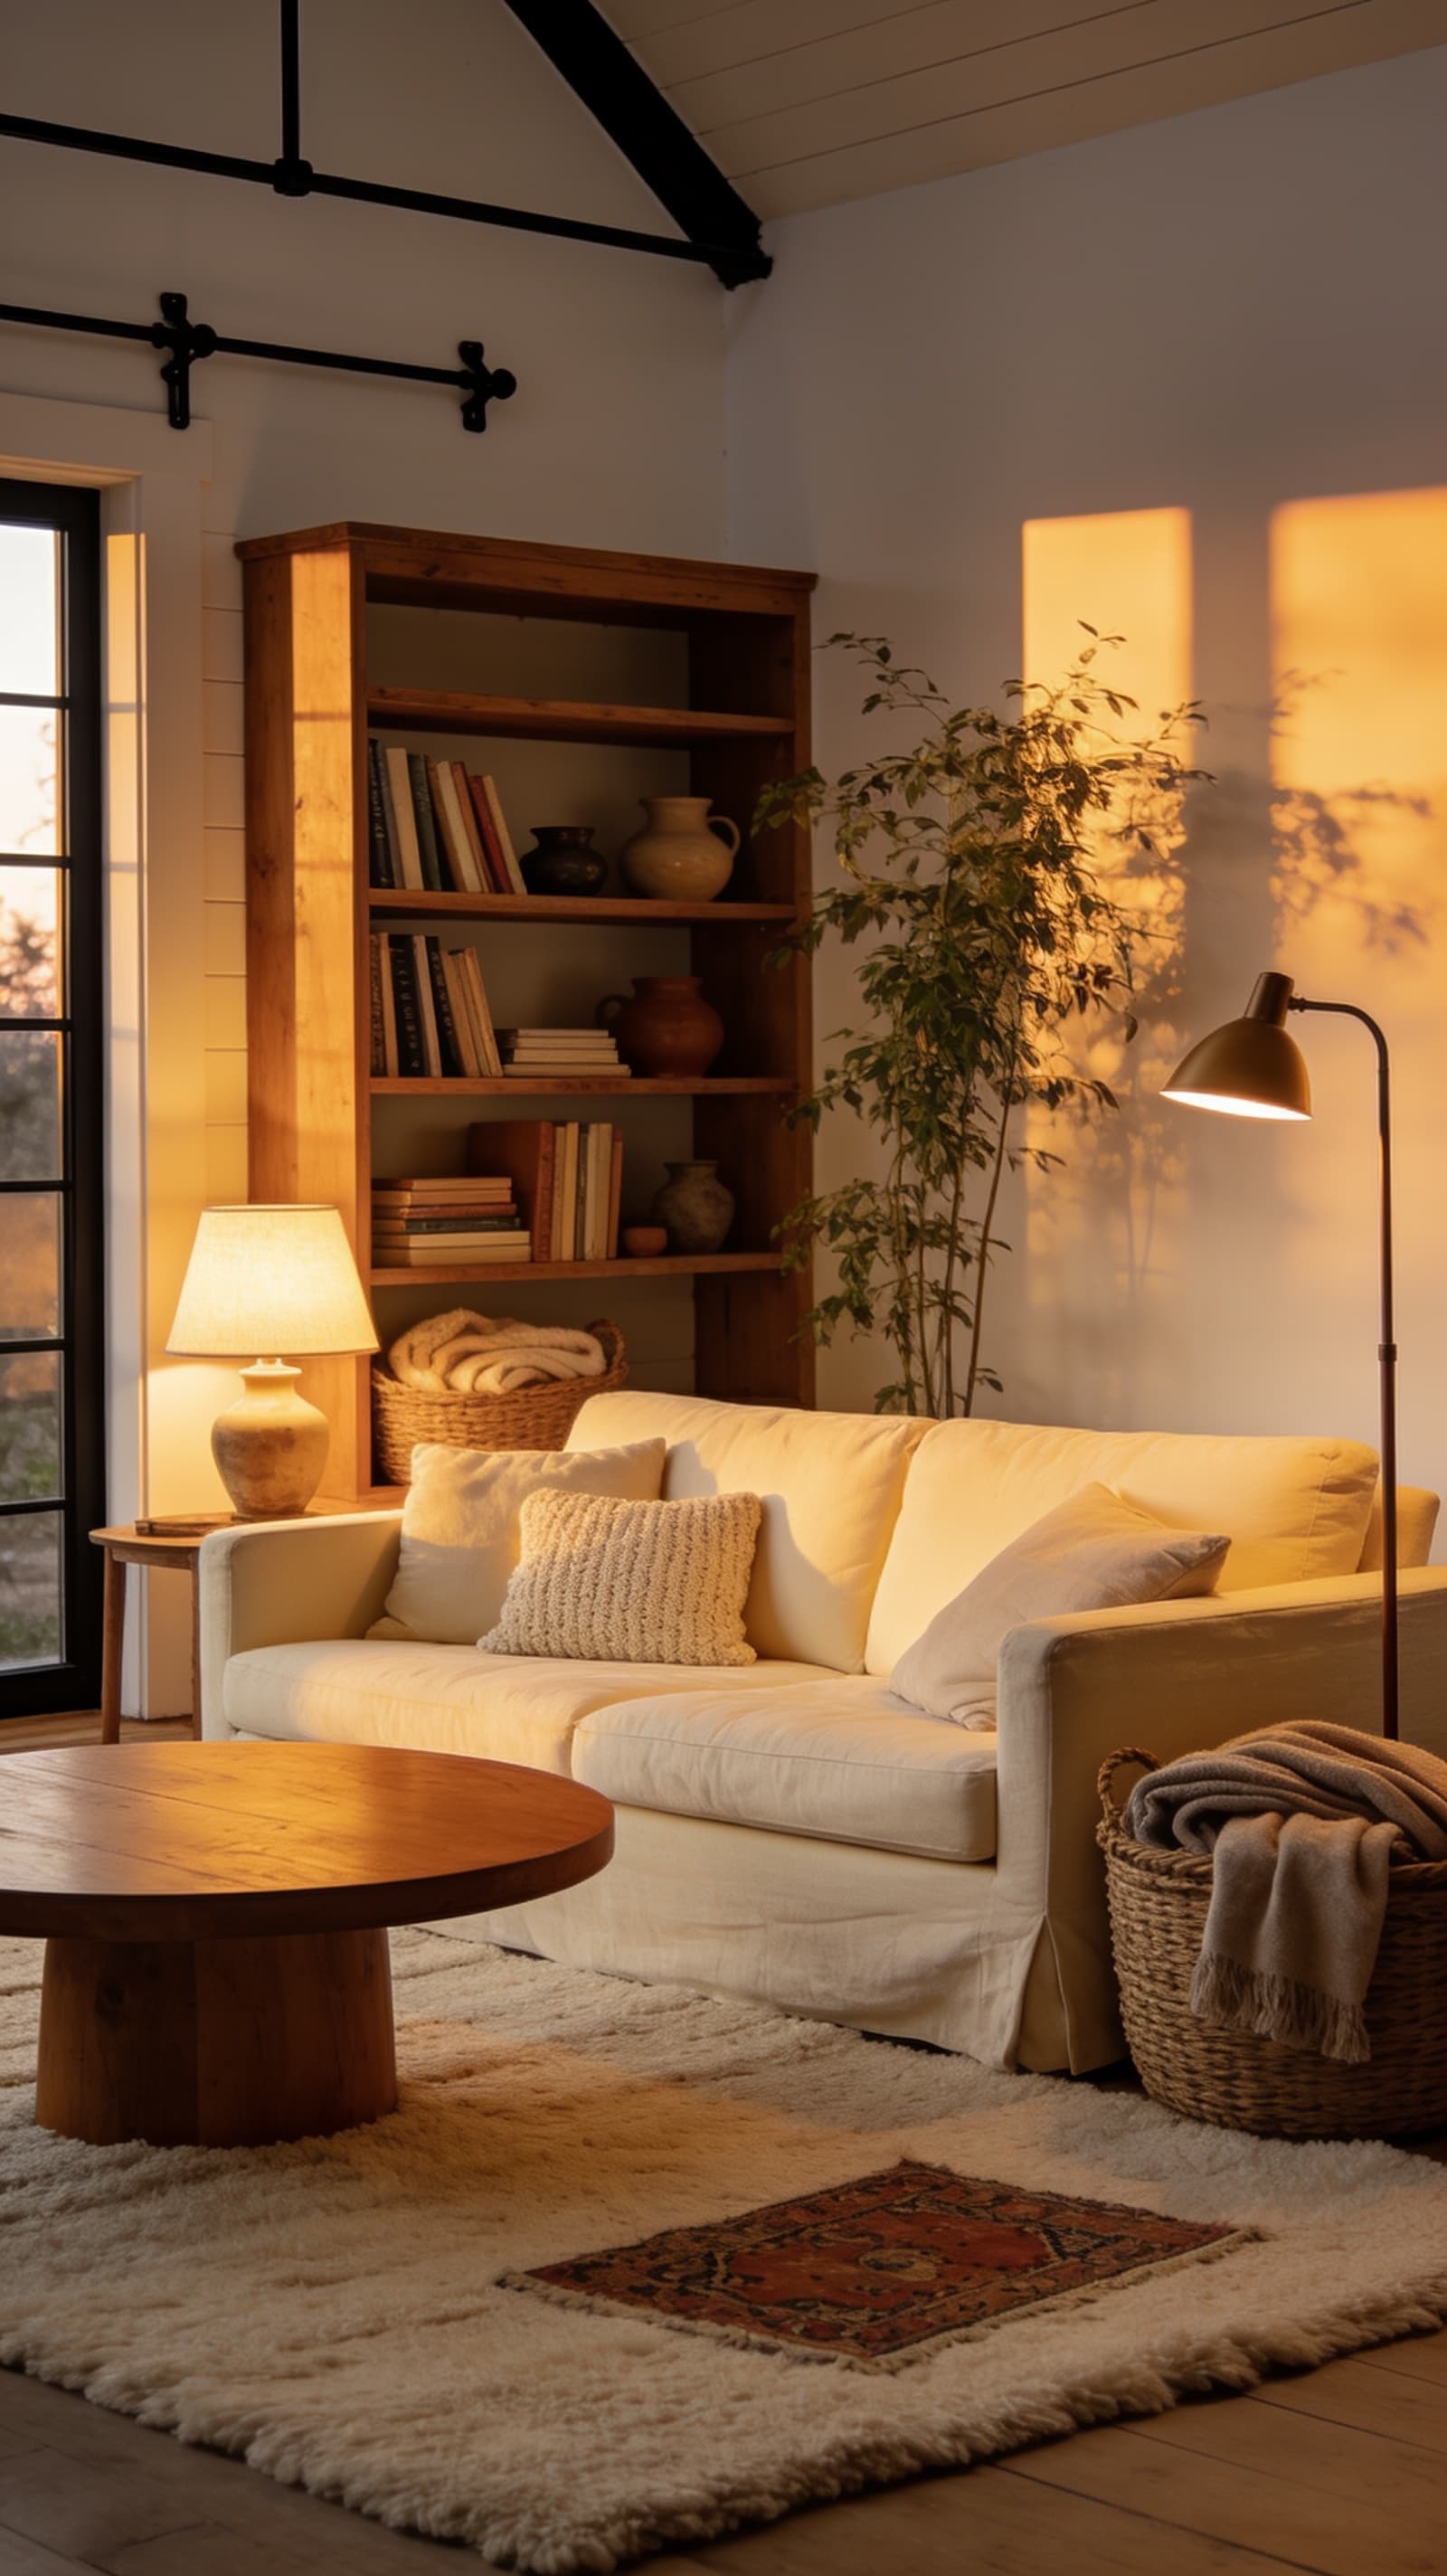
15 Dreamy Farmhouse Living Room Ideas for a Cozy Home
Farmhouse living room ideas that use wood, soft rugs, and warm lights to make your home feel calm and cozy.
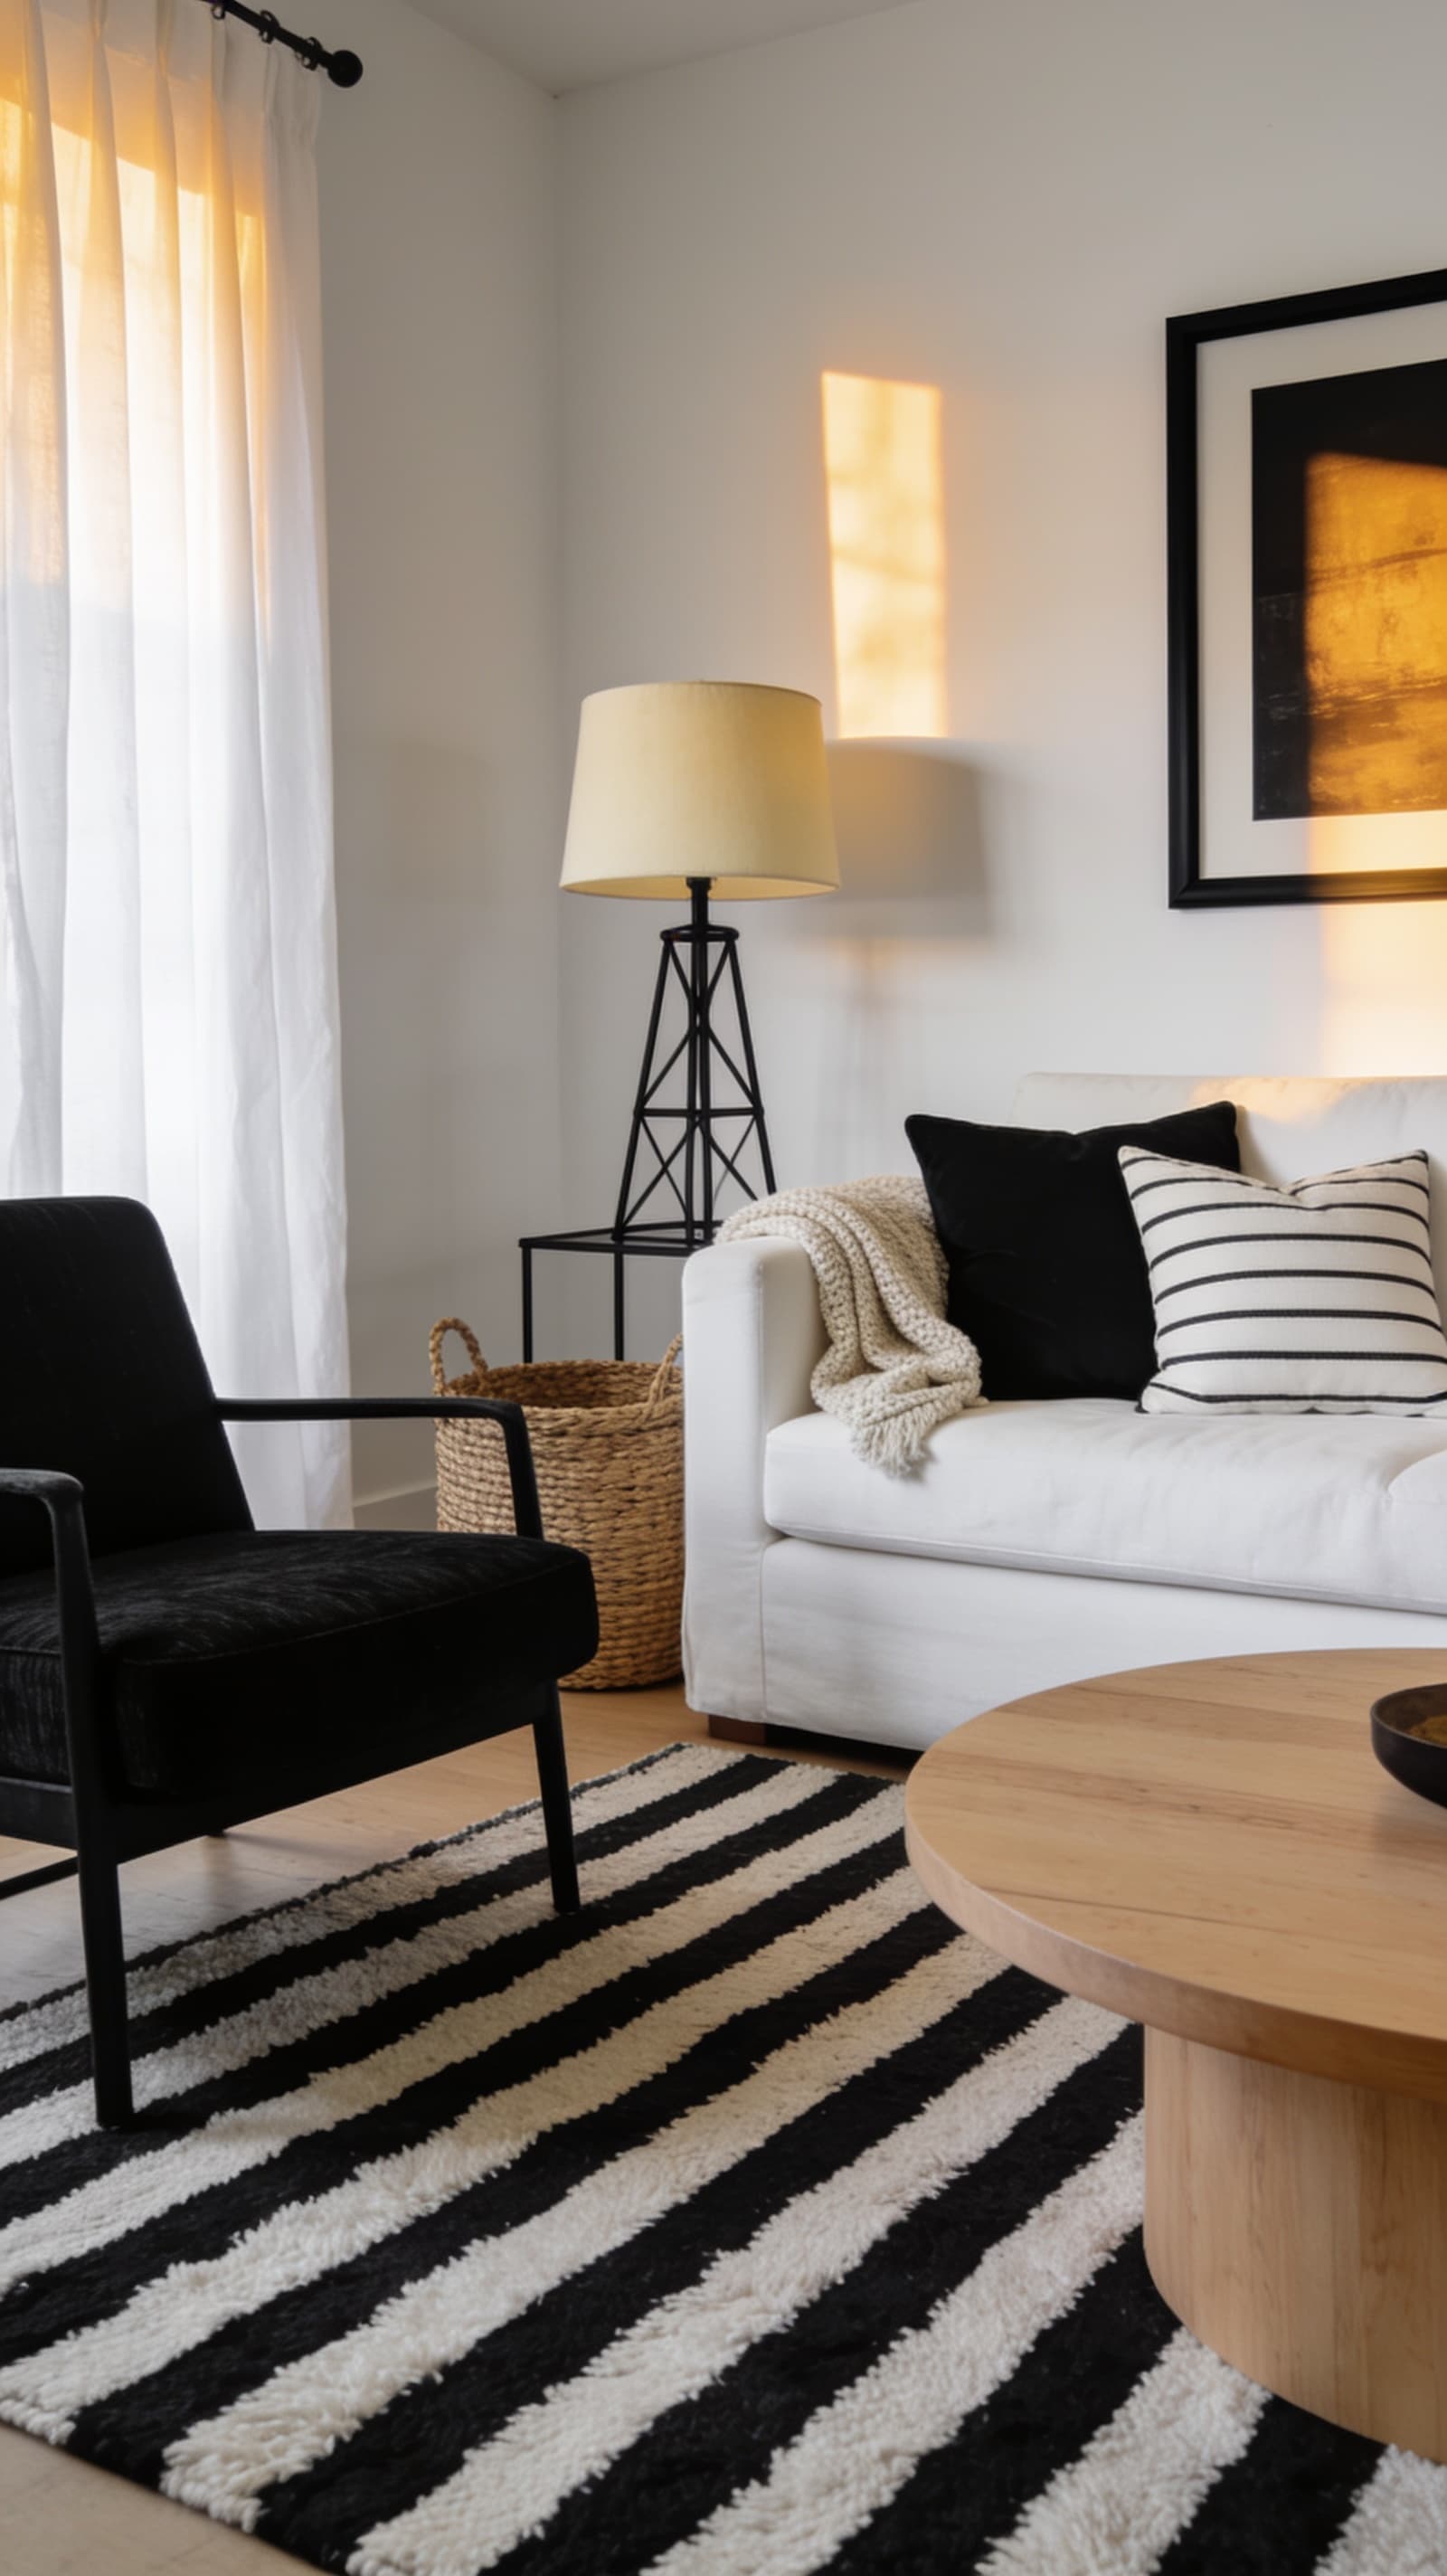
Black And White Living Room Ideas That Will Transform Your Space
Living room decor ideas in black and white that keep your space bold, simple, and easy to live in.
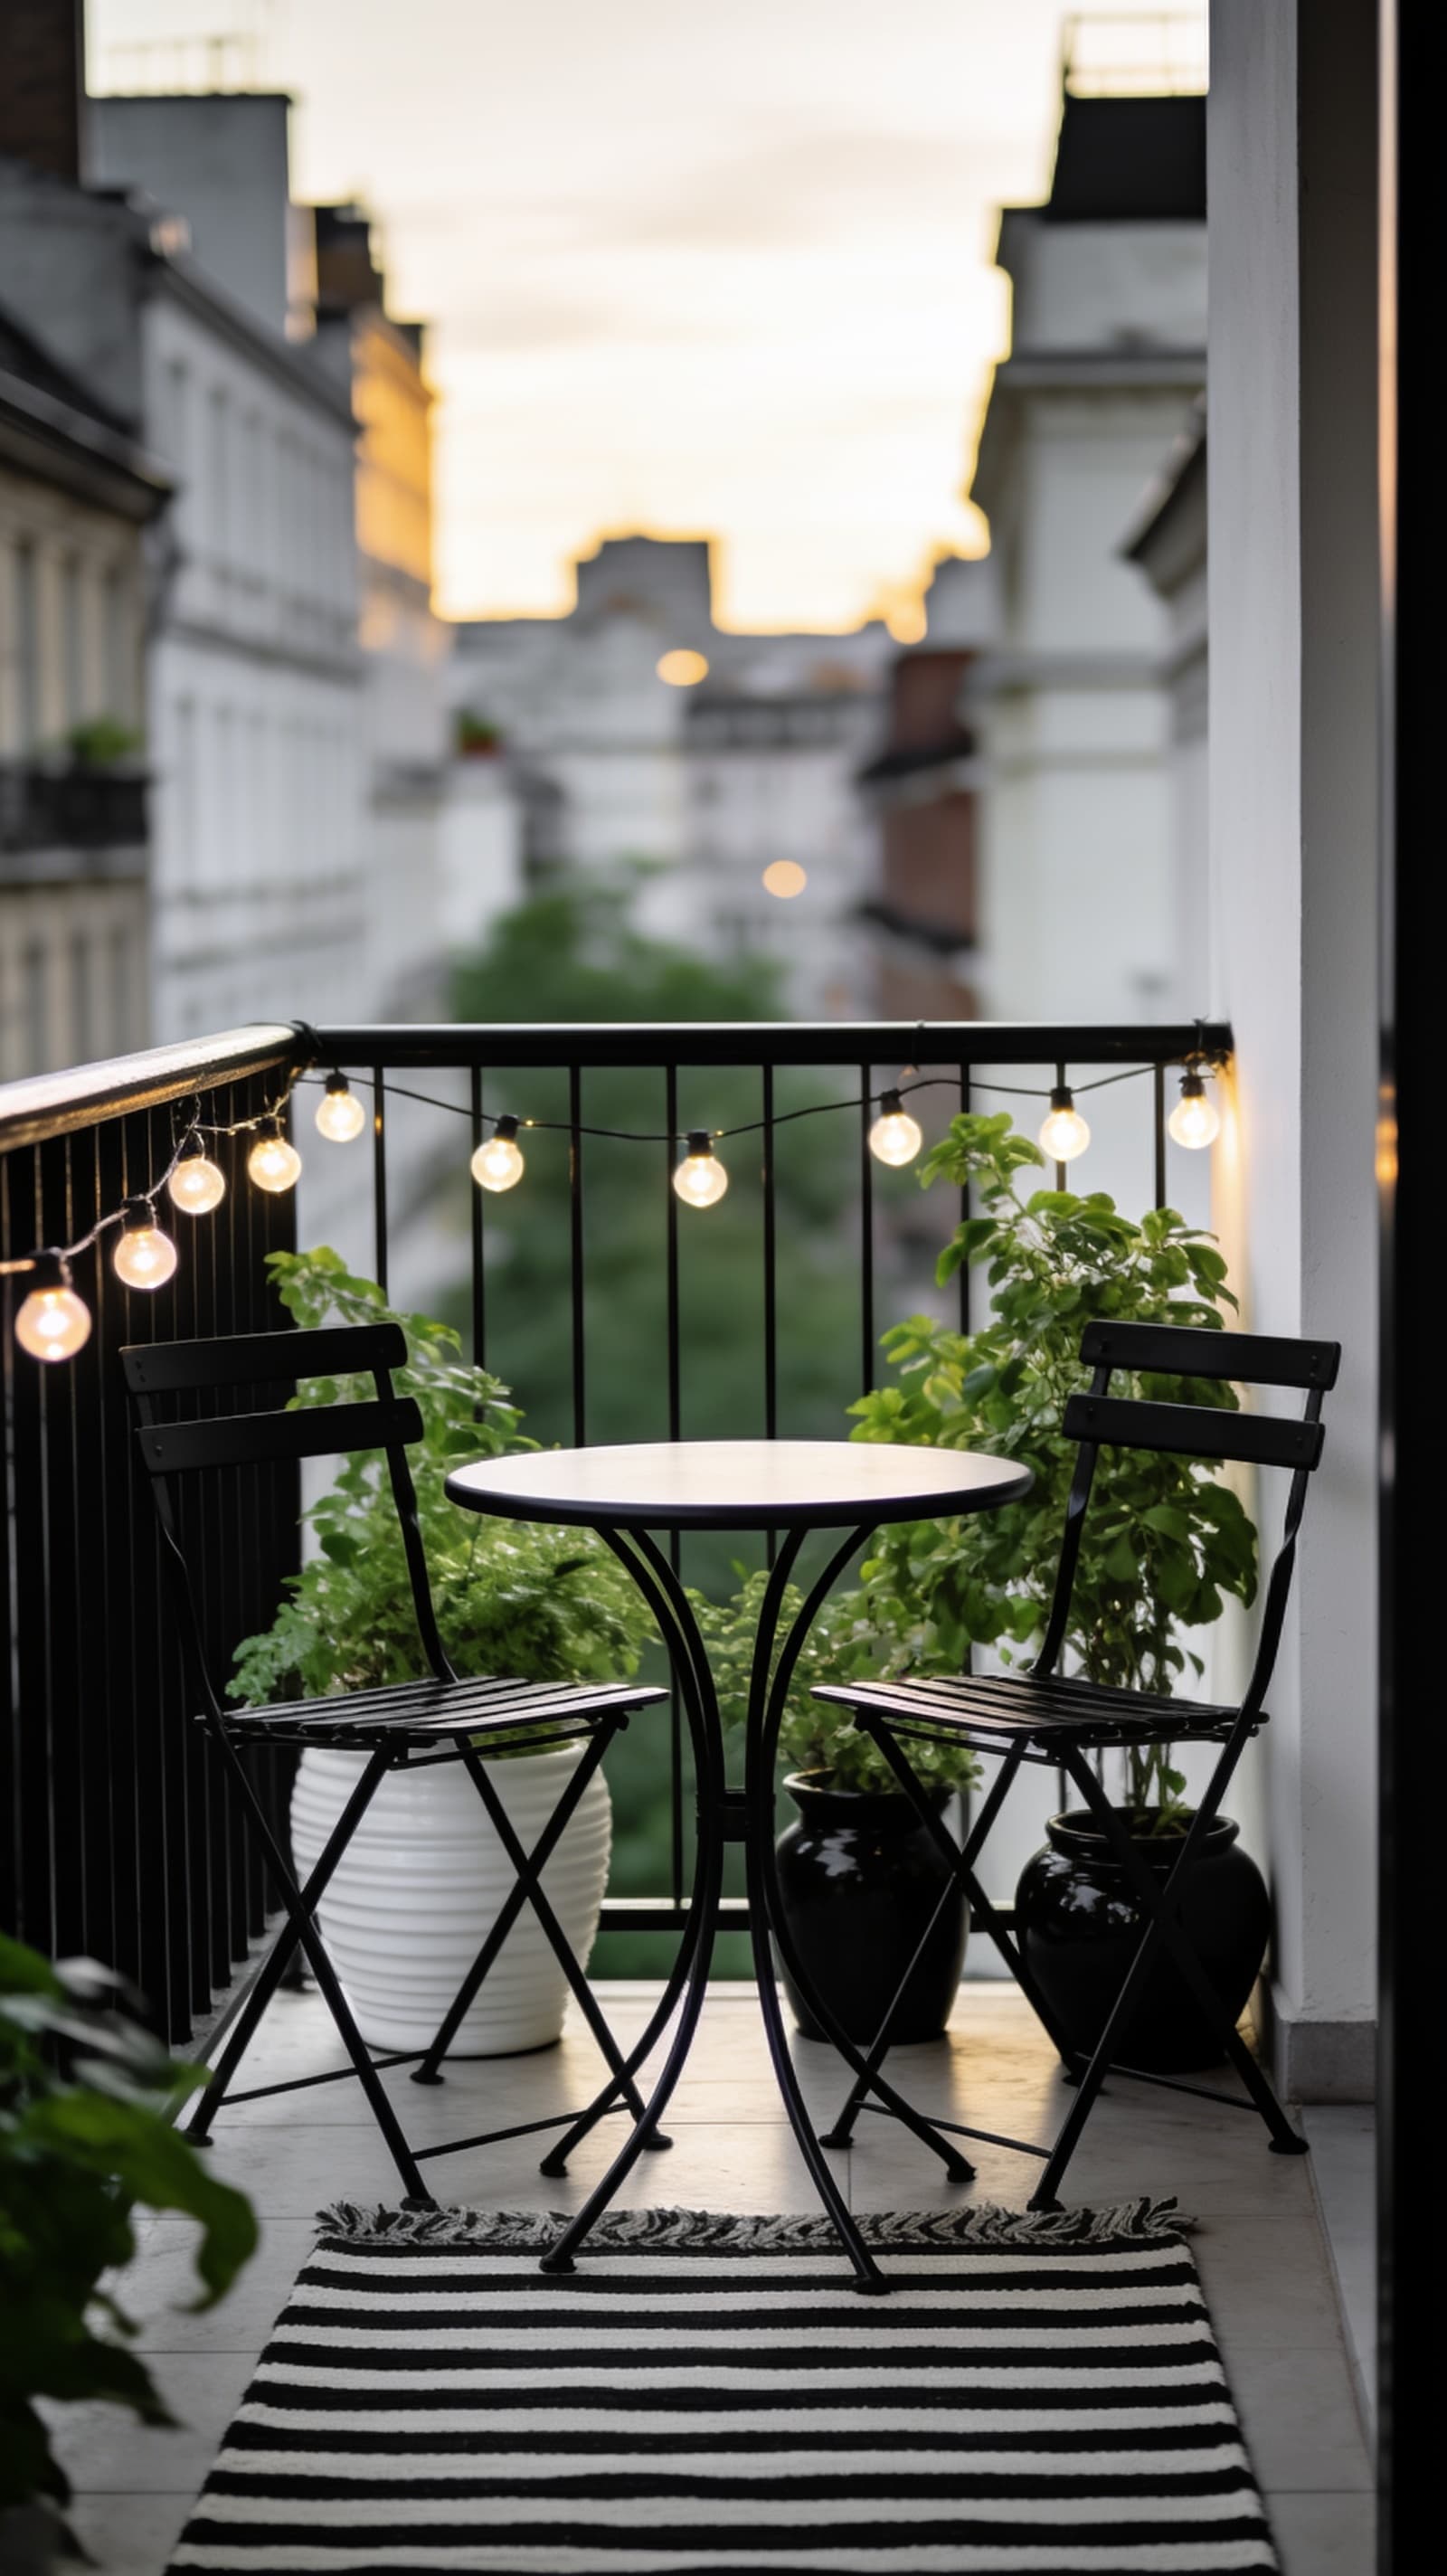
Black And White Balcony Ideas That Will Transform Your Space
Balcony decor ideas in black and white that make a small outdoor space feel calm, bold, and easy to enjoy.